When injuries happen in the outdoors—or even in day-to-day life—knowing how to immobilize a sprain or fracture can make all the difference until professional medical care is available. That’s where a splinting kit comes in. Our kit has been carefully designed with the essentials you need to stabilize an injury, and unlike many options on the market, it includes two complete sets so you can treat more than one injury or patient. Whether you’re caring for a hiking buddy, a teammate on the field, or even a four-legged companion, this kit provides the tools to keep everyone a little safer.
[Image: Splint kit contents neatly displayed on a flat surface]
What’s Inside the Splinting Kit
The splinting kit is simple, versatile, and built around tried-and-true components. Here’s what you’ll find inside, and how each item is used:
- Aluminum Splints (2) – Moldable, rigid supports that act as a temporary “exoskeleton” for injured limbs. Bend them to fit the natural curve of an arm, wrist, ankle, or lower leg. They are lightweight yet strong enough to provide the structure you need.
- Cravats (4) – Also known as triangular bandages, these versatile cloths can be folded into slings, tied to secure splints in place, or improvised for other first aid tasks. In splinting, they’re often the anchors that keep everything stable.
- Elastic Bandages (2) – Used for strapping the splint to the injured limb and applying gentle compression. They should be snug but never so tight that they cut off circulation.
- Roll of Coban/Vet Wrap (1) – A self-adhering wrap that sticks to itself but not to skin or hair. This makes it excellent for finishing a splint or securing dressings without adhesive tape.
- Rolled Gauze (2) – Soft padding that prevents rigid materials from rubbing directly on the skin. Gauze provides comfort and reduces the risk of pressure sores, especially if a splint needs to stay on for several hours.
Together, these items create a compact yet comprehensive system for stabilizing most limb injuries you might encounter in the field.
[Image: Close-up of an aluminum splint being shaped by hand]
Why Two Complete Sets?
Most splint kits on the market provide just one set of materials. But injuries don’t always happen one at a time, and sometimes you need to treat more than one limb—or more than one person. That’s why our kit includes two aluminum splints, two rolls of gauze, two elastic bandages, and extra cravats.
This gives you the flexibility to:
- Splint two separate injuries on the same person (such as both wrists or an arm and a leg)
- Care for multiple people when more than one patient is injured
- Keep redundancy—if one item becomes contaminated or unusable, you still have a backup
- Provide options for both human and animal patients without running short on supplies
Ultimately, having two full sets means you’re better prepared, without significantly increasing the size or weight of the kit.
[Image: Two completed splints side by side, one on a person and one on a dog’s leg]
Understanding Splinting
Splinting is the process of immobilizing an injured bone or joint to prevent further damage, reduce pain, and protect the area until advanced care is available. Done properly, splinting buys time and keeps your patient more comfortable.
Before you dive in, remember the golden rule: a splint doesn’t heal the injury—it just stabilizes it. Your job is to create a temporary scaffold around the injured area so the patient can be moved or wait for evacuation safely.
[Image: Demonstration of checking circulation in a patient’s hand before splinting]
The Three C’s of Splinting
Every good splint should follow the “Three C’s” framework:
- Complete: A splint should support the entire area around the injury. For bones, that means immobilizing the joints above and below. For joints, it means supporting the bones above and below.
- Comfortable: Splints may need to stay on for hours. Swelling will increase discomfort over time, so always use generous padding and avoid wrapping too tightly.
- Compact: Use only the materials you need. Tuck in loose ends so they don’t snag on clothing, gear, or brush. A neat splint is usually a more effective one.
[Image: Neatly wrapped splint with padding showing under the edges]
The Five Principles of Splinting
Beyond the Three C’s, there are five core steps to remember whenever you apply a splint:
- Check Circulation, Sensation, and Movement (CSM): Before you splint, make sure blood flow, feeling, and movement are intact beyond the injury site. Ask the patient to wiggle their fingers or toes, and check skin color and temperature.
- Traction Into Position: If a limb looks deformed, apply gentle traction (a steady pull) to bring it closer to its natural position. If there is strong resistance or severe pain, stop immediately.
- Stabilize by Hand: Before applying materials, hold the injured limb steady with your hands to prevent further movement and pain.
- Stabilize with a Splint: Use the kit materials to build an external support around the limb. The aluminum splint provides rigidity, gauze and padding protect the skin, and cravats or wraps hold everything in place.
- Recheck CSM: After the splint is secured, always check circulation, sensation, and movement again. If you’ve cut off blood flow, loosen and readjust. A splint should never make the injury worse.
[Image: Step-by-step demonstration of applying a splint to a lower arm]
Practical Tips
- Splints should never be applied directly against bare skin—always add padding.
- Elastic bandages should stretch as swelling increases, not cut off circulation.
- If you’re in doubt, immobilize the injury as it lies rather than forcing it straight.
- Check circulation frequently during evacuation, especially if the splint will be on for more than an hour.
- When possible, elevate the injured limb to reduce swelling.
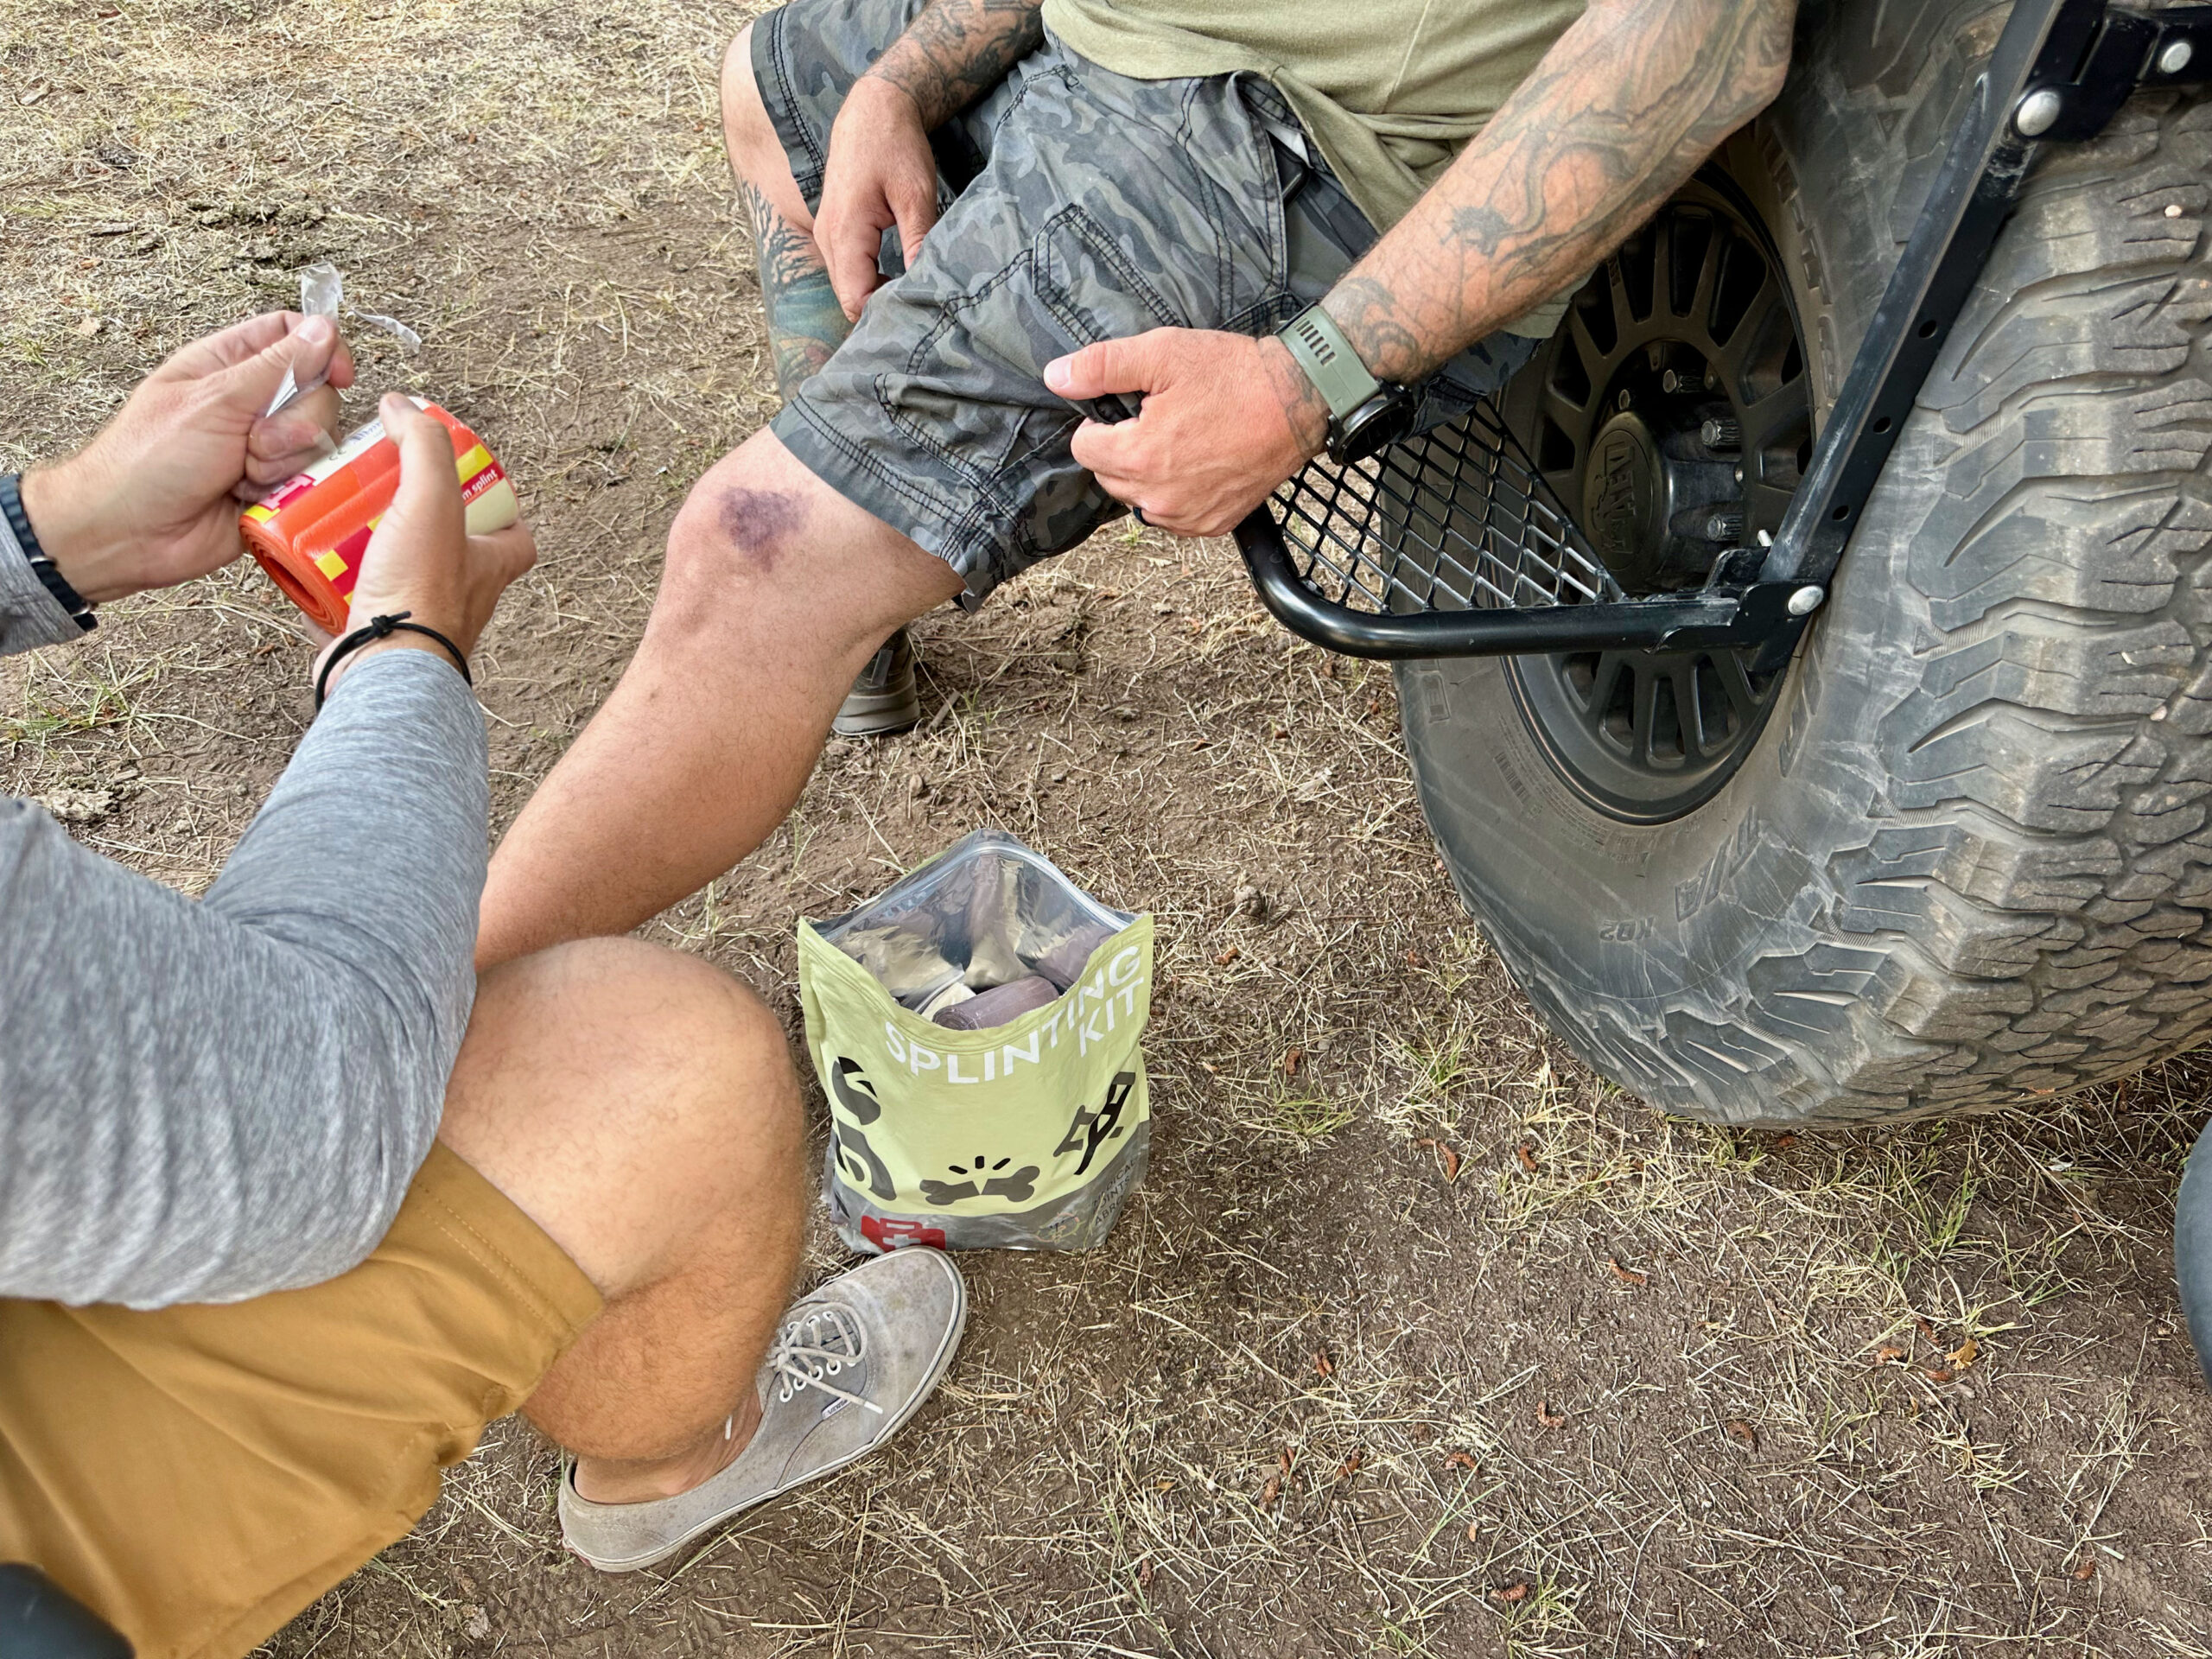
[Image: Outdoor first aid scenario with splint applied, patient resting comfortably]
When Splinting Isn’t Enough
While splinting is an essential skill, it has its limits. Serious injuries like femur fractures, pelvic injuries, or spinal trauma are beyond what a field splint can manage. If you suspect one of these, your priority is calling for professional help and minimizing patient movement until trained rescuers arrive.
Final Thoughts
A splinting kit is one of those pieces of gear you hope you’ll never need—but when you do, it becomes invaluable. With the right tools and a bit of practice, you can turn a chaotic injury into a controlled situation. Our kit is designed with redundancy, versatility, and real-world use in mind, giving you peace of mind wherever your adventures take you.